
What is FlowScribe?
FlowScribe is a tool for generating programmatic SEO pages in Webflow. It automates content creation using AI, turning a single keyword into multiple optimized pages. By streamlining keyword research and publishing, FlowScribe helps users rank for long-tail searches, save time, and expand their online visibility.
Here’s a tutorial on how to use FlowScribe, step by step:
- Getting started with FlowScribe
- Set up a new project
- How to create AI-driven content for your programmatic SEO pages
- How to publish your new pages to Webflow
1. Getting Started
Creating a FlowScribe Account
Sign up with your Google account or create a FlowScribe profile using an email and password. Once registered, you’ll receive immediate access to your dashboard and available credits.
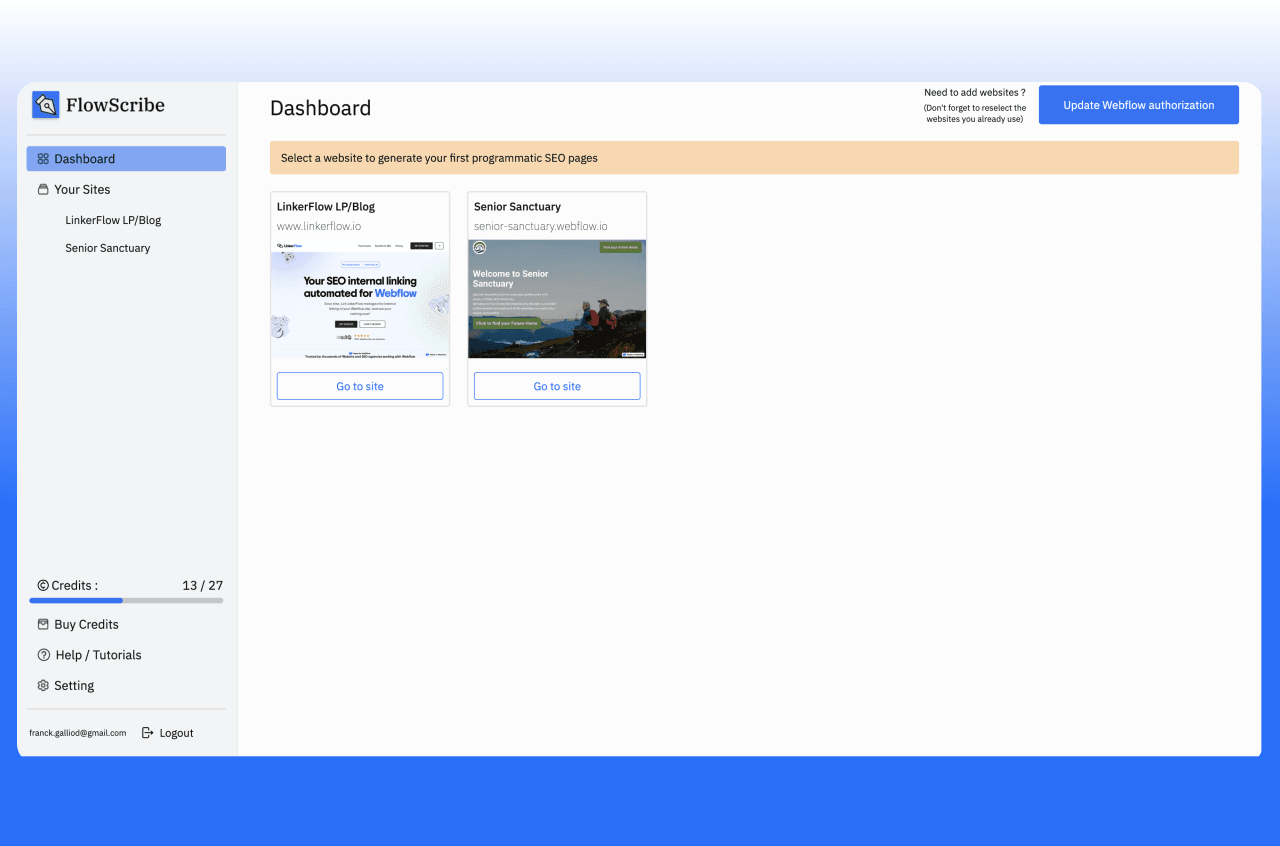
Navigating the Dashboard Upon First Login
Upon your first login, you’ll see a streamlined dashboard with three main areas:
- Your Sites: Manage multiple websites and switch between them easily.
- Buy Credits: Check your credit balance, learn how credits work, and purchase more.
- Settings: View account info, update Webflow authorizations, or remove site access.
2. Setting Up a New Project
To start a new project, connect FlowScribe to your Webflow workspace. Click on « Connect your Webflow workspace » from your dashboard, then choose the corresponding Webflow site you’d like to integrate. FlowScribe fetches essential CMS data such as website main data, Collections, fields, and locale (for future update), enabling seamless content generation. Once authorized, your Webflow site details appear in FlowScribe’s interface, allowing you to create and manage programmatic SEO pages. This connection ensures all generated content automatically syncs with your Webflow environment for quick review and publishing.
3. Creating a New Keyword List
After setting up your project, select the website you want to work on, you’ll arrive on the « website page ». There you’ll be able to add keywords manually/from a CSV file or generate them with AI.
On both cases, you’ll have to define a main keyword (which must be short, 1-3 words) such as “on-page SEO,” “sustainable fashion,” or “Greek restaurant.” Choosing a highly relevant main keyword is vital because it shapes the topics FlowScribe will generate, influencing your website’s search visibility and audience targeting.
If you decide to generate them with AI, after adding a main keyword you’ll be able to enter a prompt to precise your niche and needs in terms of long tail keywords, such as “Top 10 Chinese restaurants in Paris”, "best … for [keyword]" or “top [keyword] in all European capitals.” This prompt helps refine the context, ensuring the generated long-tail keywords align with your content goals.
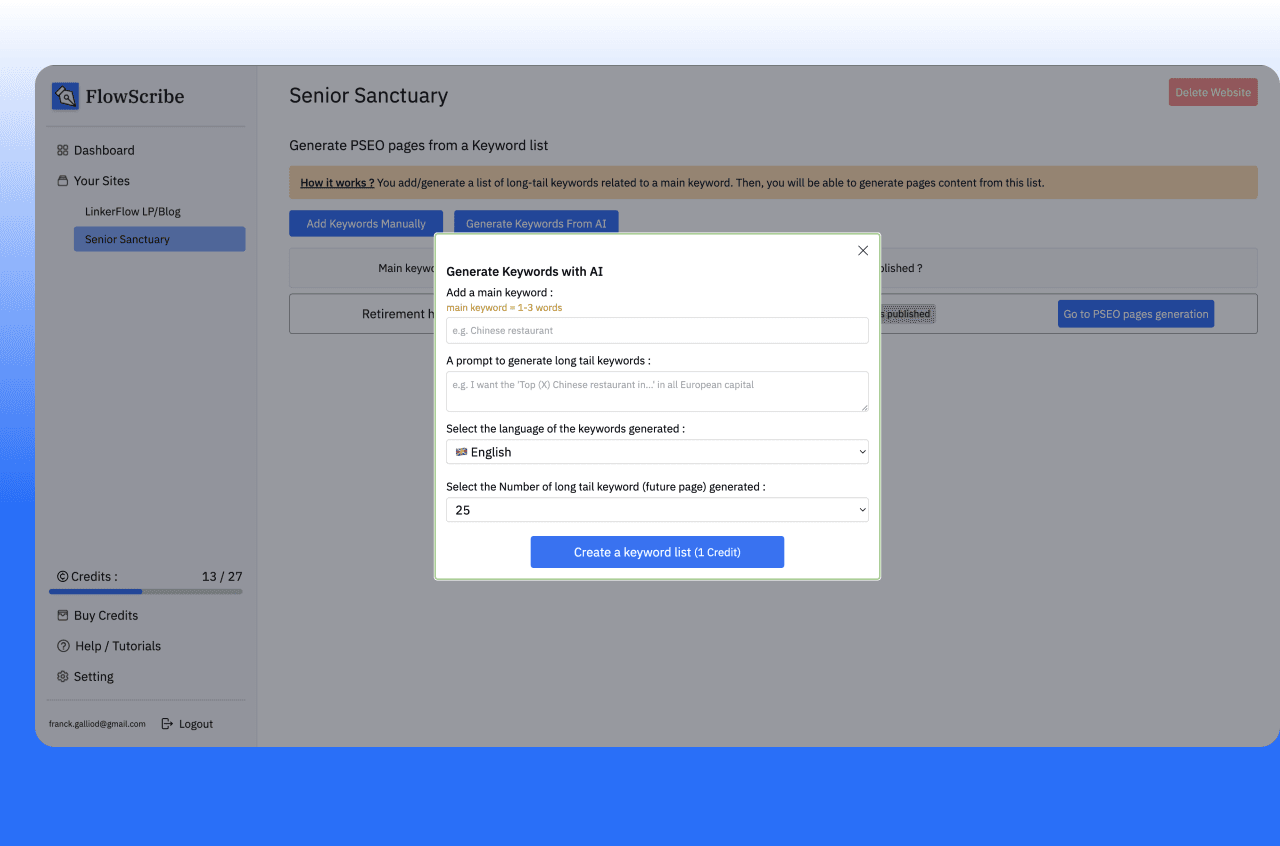
You’ll also find inputs with the language of your choice, and the number of long-tail keywords you’d like to generate, which will determine the number of credits used.
Once you submit your details, FlowScribe’s AI engine processes your main keyword, creating a curated list of long-tail keyword variations. These variations are designed to capture different user intents and search queries, giving you the flexibility to build SEO pages that resonate with diverse segments of your audience.
4. Keyword List / Content Page
You’ll now discover a « keyword list », where your long tail keywords are available and where you’ll find your future programmatic SEO pages. Start by reviewing suggestions as much as possible. Look for any irrelevant or repetitive phrases that may not align with your site’s focus. If necessary, change certain keywords slightly to better match your brand voice or specific content goals. When you’re satisfied with the selection, those long tail keywords will be used as page titles and to generate the content. You can delete or add more manually if necessary.
5. Creating Programmatic SEO Pages with AI
To begin, open the « Generate content » modal from your website « keyword list ». You’ll see a prompt where you can specify your site’s style or audience, such as “e-commerce store” or “tech blog,” and your tone.
Next, you will have to select how many pages you want to generate from 25 to 1,000. (If you have more long tail keywords than the number of pages selected, only the first `number selected` will be generated, and the opposite if you selected more.
Next, select your preferred AI model. Classic (GPT-4o-mini) provides a low-cost approach, Best Value/Money (Deepseek) optimizes cost-effectiveness, and Optimal (GPT-4) uses a better model for deeper contextual accuracy. Each model requires a certain number of credits per page, which FlowScribe displays before finalizing.
—More models will be added in the future depending on demands.
After reviewing the cost, click Generate to start creating your pages. FlowScribe’s AI will take a few to several minutes (longer for higher volumes) to produce draft content that targets each long-tail keyword on your list. Once complete, this content appears under each long tail keyword / row (click on it), ready for review and editing.
6. Reviewing and Editing Generated Pages
While the long tail keyword will be used as the page title, you’ll find a newly generated meta title, meta description, and HTML content (made for rich text type in Webflow). Open the rows to confirm that the content accurately reflects your brand voice and addresses its assigned long-tail keyword. Make any necessary edits, focusing on headings, subheadings, and meta descriptions, then click on save.
If you plan to adjust content directly in Webflow, be mindful of copying changes back to FlowScribe so future edits remain consistent if you want to edit the content again here. Your content is now ready to be published.
7. Publishing to Webflow

When you’re satisfied with the drafts, select Publish to push pages live on your Webflow site. You can publish them all at once or individually. FlowScribe tracks the publishing progress and provides a quick link to verify each page on your live domain.
If you notice any issues, you can unpublish specific pages or revise them in FlowScribe before republishing. This flexibility ensures your SEO content remains accurate, up-to-date, and aligned with your website’s goals.
8. Additional Tips and Best Practices
Regularly update your pages to keep content fresh and engaging. Maintaining a consistent posting schedule helps build authority and user trust. After publishing, confirm each page’s indexing status on Google Search Console to ensure full visibility and proper search engine crawling.
Do not hesitate to leave us feedback on the contact page or via the support chat. We wish to build the best pSEO builder for Webflow.
Enjoy using FlowScribe!